Shipshewana Auction Challenge is a fun thing to find new ways to use old stuff from our weekly Antique & Misc. Auction in Shipshewana, IN.
We’ve started a new thing here at the office called “The Auction Challenge.” Here’s how it works:
First, someone has to find and bid on an item at the Wednesday Shipshewana Miscellaneous & Antique Auction. Each individual tries to stick to something under $10. Then, someone gets a project to work on (We have no idea what the item will be before receiving it), and it just needs to be re-purposed or used in a new way in the home or office.
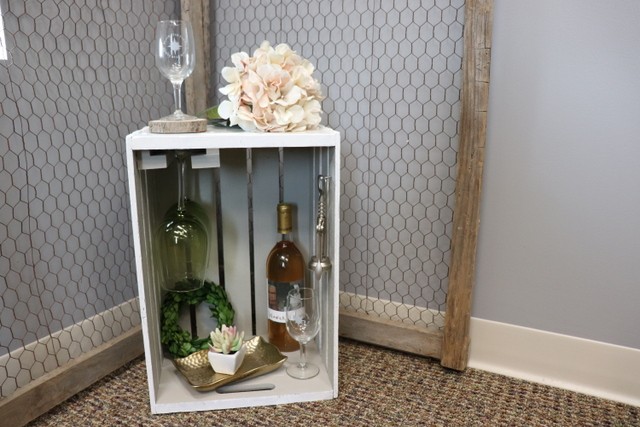
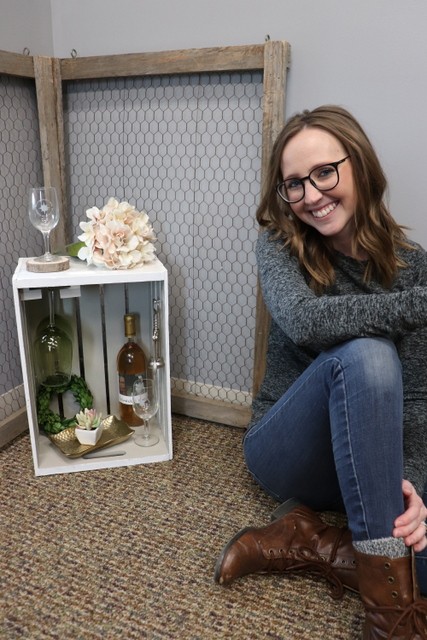
This was our first DIY project in the Auction Challenge series: How to Make a Wine Caddy Using an Old Crate!
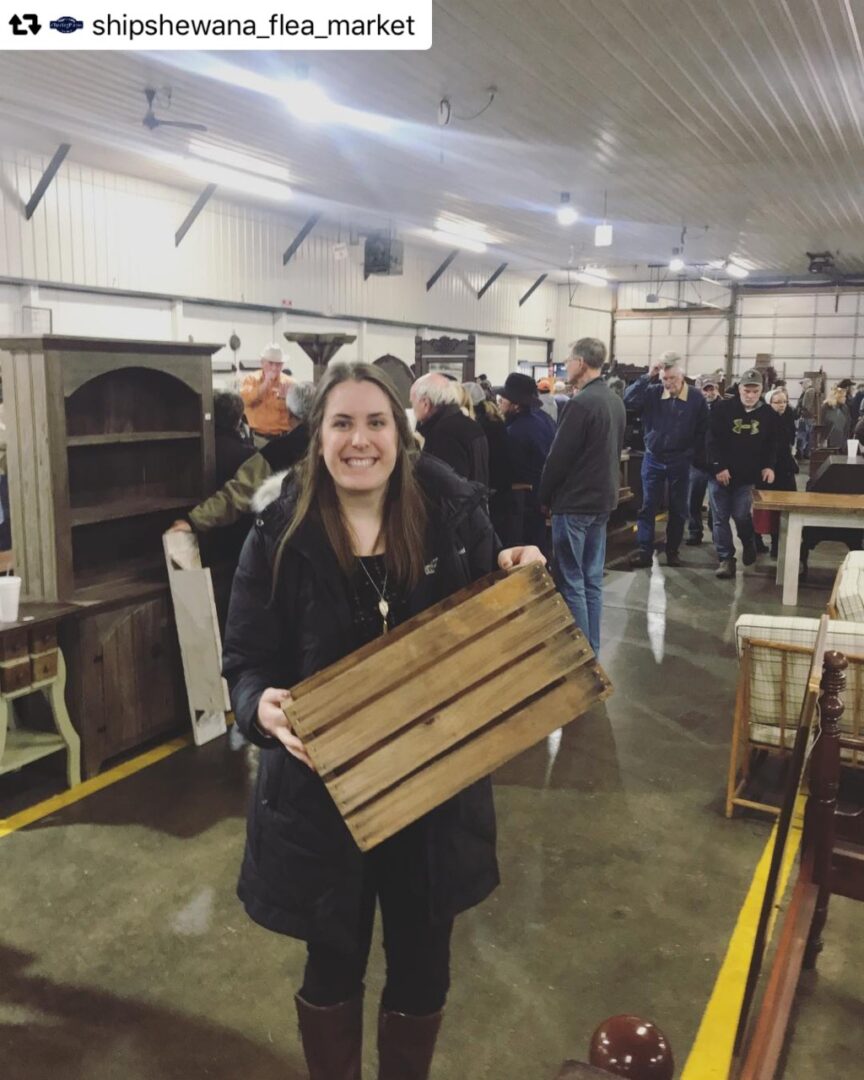
The staff found a cute old crate at the Shipshewana Antique Auction. They bid on it, and won it for just six dollars.
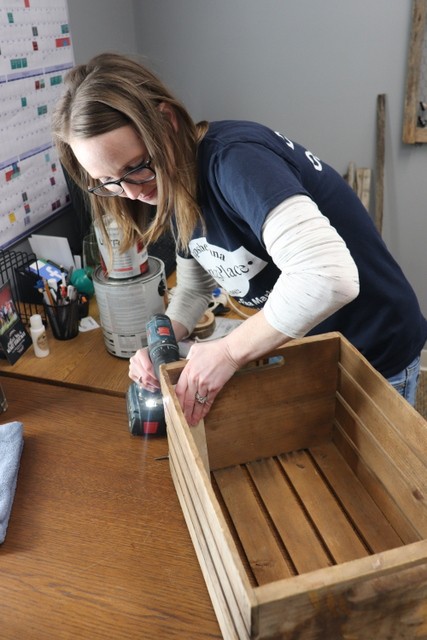
Shipshewana Auction employee pictured with the crate from the auction…got it for six dollars!
This sparked several ideas, including a towel rack, shelf for a bathroom, a magazine caddy, and a wine glass holder.
We decided to let our Instagram and Facebook followers choose between the magazine or wine caddy…and they chose the wine caddy!
Materials
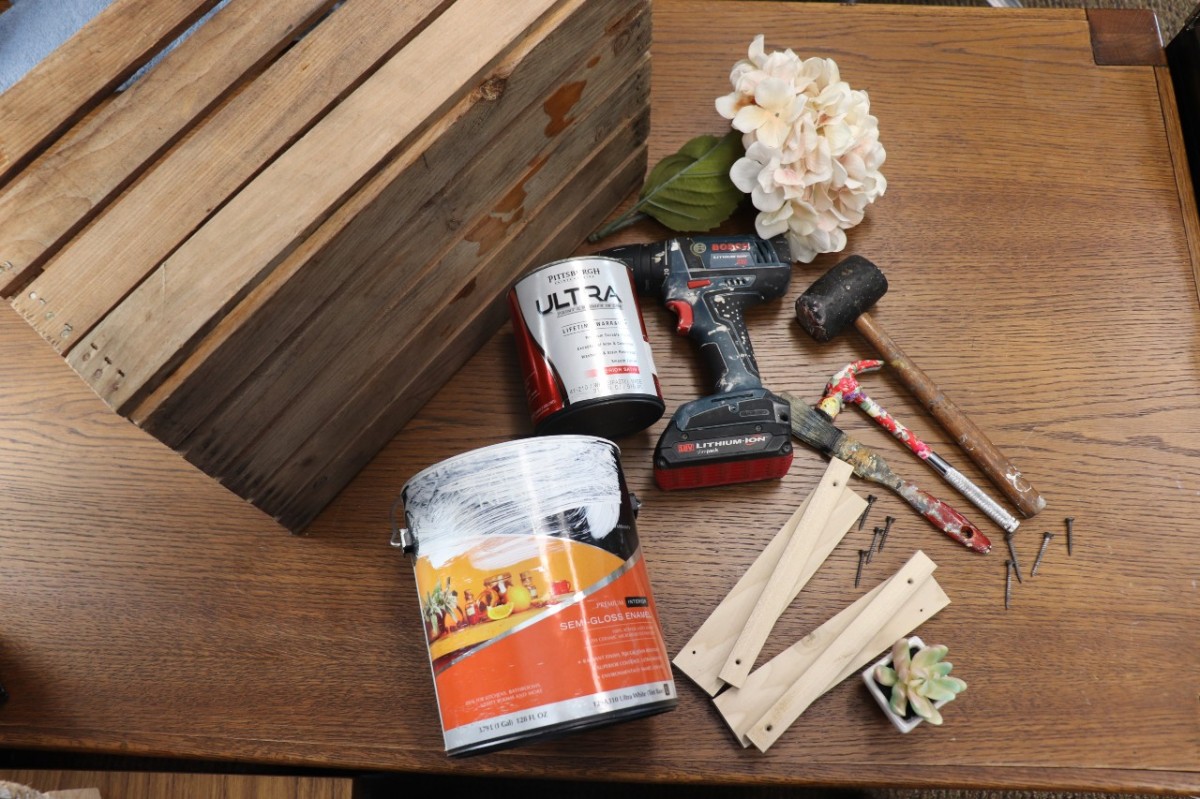
Here’s a material list of the items used to make the wine caddy.
- Wooden Crate
- White Paint (or any color you want for inside and outside of crate)
- Drill
- Mallet
- Multi-use Tool
- 9 Screws
- Wood Scraps
- Various Decor
Instructions:
1. Clean It
The very first step anytime you are upcycling an old piece (or using barn wood!) is to clean it!
You can use a little soap and water as well as a scrubbie brush to clean your project.
2. Build the Wine Glass Holders
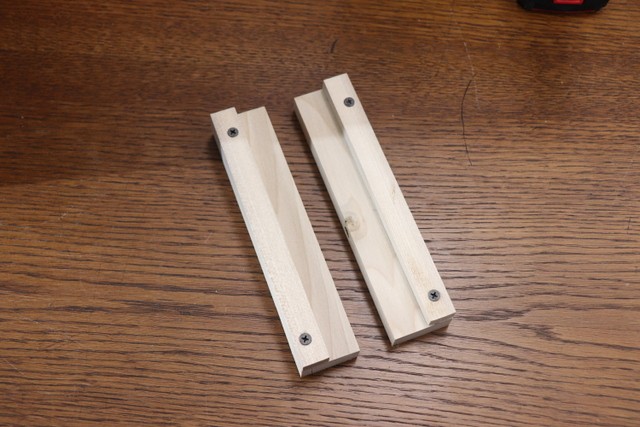
These “L” shaped fixtures are perfect for hanging the wine glasses by their stems.
First, measure the inside of the crate where the hanger is going to be attached.Once you have the size, cut down your scrap pieces of wood to fit.
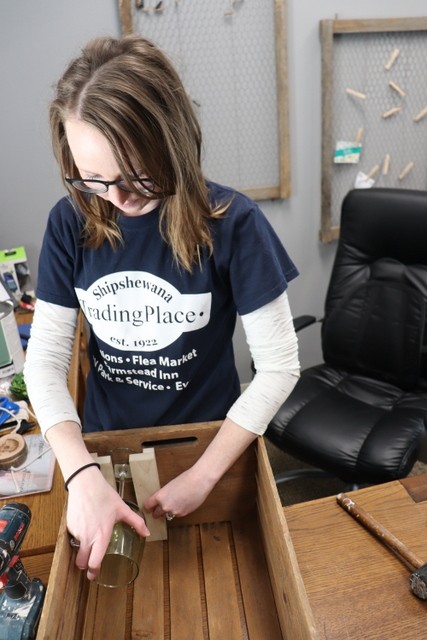
Next, lay the larger pieces on the bottom and the smaller ones on top. Then, screw the smaller wood pieces onto the larger ones using your drill and 1″ screws (sizes can vary).
3. Secure the Holders
Attach the hanger onto the crate by placing your first hanger in the upper corner of the caddy.
Use 1″ screws to properly attach the hanger.
Next, make sure you get the width correct between the hangers.You can do so just by grabbing your wine glass and giving it a quick look, like we did in the picture below!
Then, attach the second hanger the same way you attached the first hanger.
4. Paint
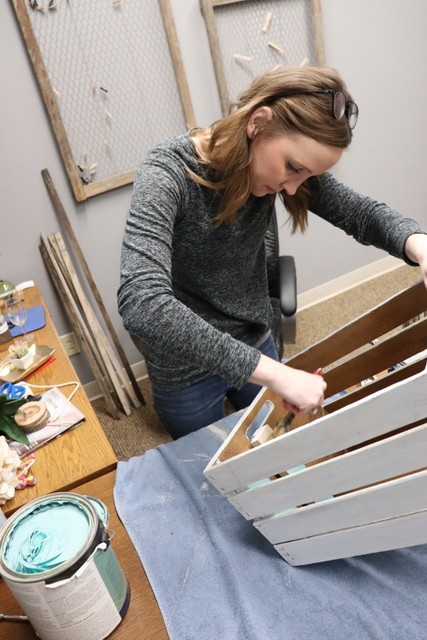
Depending on the style you are going for, you can either leave your crate the natural wood for a more rustic look, or you can go for a shabby-chic look like we did!
We chose to go with white as our outside color and gray for our inside color.
5. Attach a Corkscrew Holder
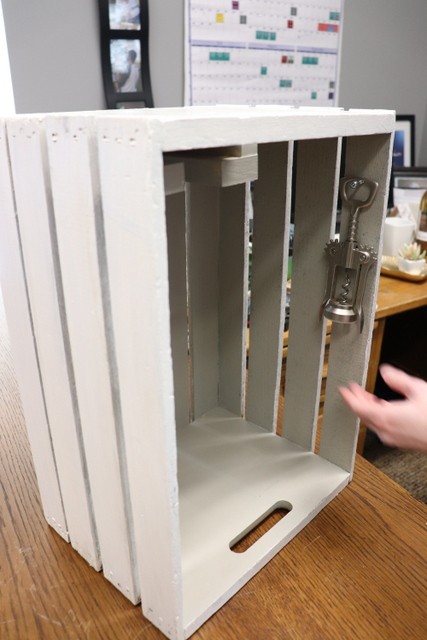
After the crate dries, use an extra screw to make a holder for the wine opener. This was a complete after thought, but it works great so, WHY NOT?
To make the holder, first lay the caddy on its side. Next, use an extra screw you have laying around, I would suggest using a short screw so it doesn’t go through the other side of your crate. *Or, if you have a hook laying around, that would work perfect too!
6. Finish with Decor (My Favorite Step)
The neutral paint colors go with decor pieces chosen to accent the wine caddy. The gold and green accents really make it POP! Honestly, you can never go wrong with the power combination of neutrals, greens and golds.
Keep it cozy by adding a wood coaster on top, and a beautiful hydrangea puff to top if off!
So there you have it! A cute wide caddy for your kitchen or dining room. Because, wine not?

