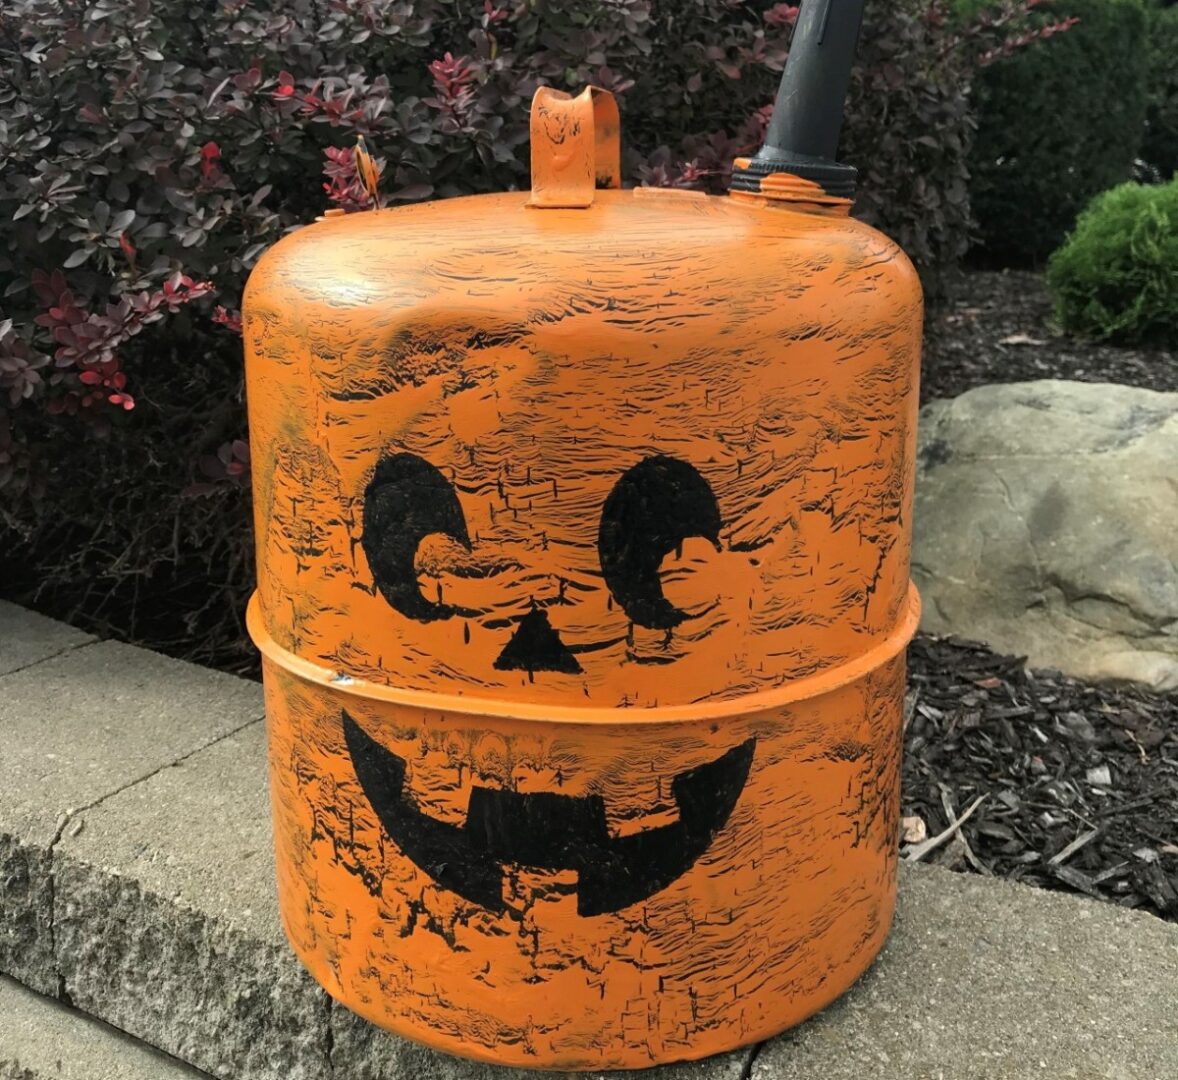
Learn to make your very own Fall decor with this easy DIY jack-o-lantern project. This unique Fall decoration was made from a gas can we bid on at our weekly live auction. Learn the step-by-step way to make your own with this fun upcycling project.
We always find lots of old gas cans at the Shipshewana Antique & Misc Auction each week. So, we decided to re-purpose one of them into the CUTEST Halloween decoration! We used a combination of paint and Elmer’s glue to create a “crackle” effect. Check out the video for how to make your own!
Materials Needed
- Gas Can
- Black Paint
- Elmer’s Glue
- Orange Paint
- Paintbrush
- Jack-o-lantern Face Template (here’s the one we used)
- Utility Knife
- Hair Dryer (Optional, to speed up drying)
Directions
- Wipe your gas can with a damp cloth, and make sure it’s clean.
- Paint the entire can black. Let dry completely.
- Paint the can with white Elmer’s glue. This is what will make your next layer of paint crackle. Let dry for 10 minutes.
- Paint the entire can orange. Let dry completely.
- Cut out a jack-o-lantern face template using a utility knife. Tape the cut out onto the front of the gas can.
- Use a sponge or brush to fill in the face with black paint.
- Let dry completely.
And you’re done! This easy pumpkin decoration would be perfect for your porch or on top of a hay bale.

