The sweet smell of spring is in the air here in Shipshewana, Indiana. With the arrival of spring comes the welcoming sight of Maple trees stippled across the countryside, adorned with little metal buckets. Yep, it’s maple syrup season ya’ll!
And with maple syrup season upon us, bucket loads of… well, sap buckets are showing up in hoards at the weekly Shipshewana Antique Auction!
For this Auction Challenge, a bundle of old sap buckets turned into something amazing! Learn five different ways to re-purpose an old sap bucket.
1. Kid’s Game
For our first re-purpose, an old-school “toss game”. Mark out math problems on scrap paper and clip them on with clothes pins. The clothes pins allows you to easily change out math problems or switch over the sight words identification.
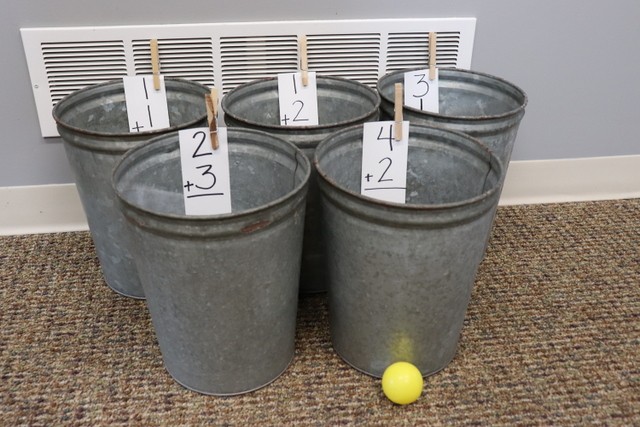
To play the game, ask kids to throw the ball into a bucket and have them solve the problem. Get it right and receive a point!
You could also clip up sight reading words instead of math problems. Then, ask the child to drop the ball into the bucket that has the specific sight word you are asking for. Get it right and receive a point!
2. Storage Bins
For our second re-purpose, use chalkboard paint to make labeled bins for easy storage.
Find a printable label shape online, print it and cut it out. Using it as a stencil, trace around the shape to make your label outline. Next, paint the label shape using your chalkboard paint. After 2 coats of chalkboard paint, labels are ready to go!

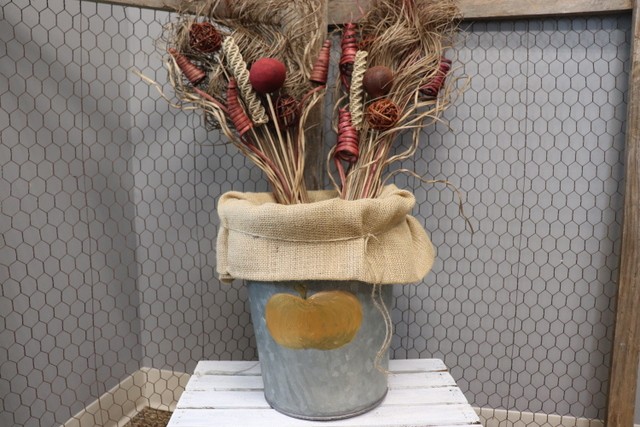
3. Multi-Season Decor Container
With this re-purpose idea, you cover 2 seasons with 1 bucket, that’s like killing 2 birds with 1 stone. Fall and winter, of course, have the best decor. There’s nothing better than falling leaves, bright orange pumpkins, old red trucks & Christmas trees or stoic snowmen.
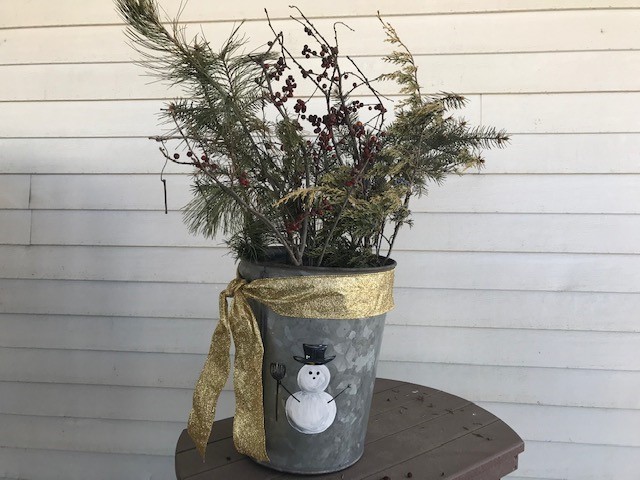
On one side of the bucket, paint a “fall” scene. On the other side, paint a “winter” scene. Then fill the bucket with some cute greenery or decor to match which season you’re in. Then just turn it around for the next season!
Front: Fall
Back: Winter!
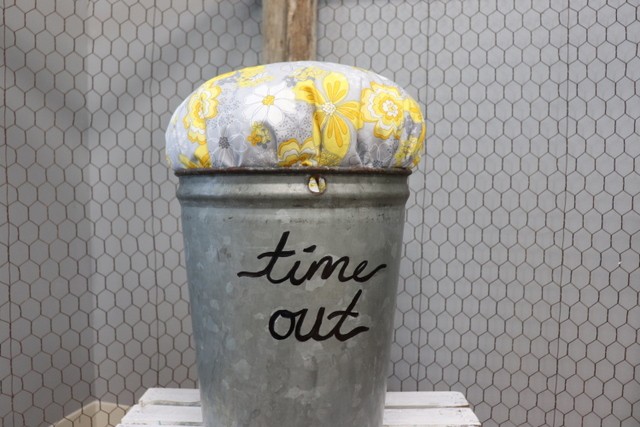
4. Time-Out Stool
Got kids? This is such a cute little way to establish that much-needed area to “recoup”. The three main materials used for this project are:
- Bucket
- Stuffing
- Fabric
Fill the bottom of the bucket with whatever you have on-hand. I used bubble packing material.
Next, use quilt batting (or you can use any type of stuffing) to fill in the cushion part. Then, lay fabric over all the stuffing and tuck in all the corners and smoothe out any lumps and bumps.
You can also attach the fabric with hot glue to the inside of the bucket (I didn’t because I know I’ll seasonally change the fabric!)
Then, add a little message on the front with a permanent marker.
5. SAP BUCKET!
Of course if you’re interested is something that’s a little more utility-type, you could always use it as a sap bucket. It is, after all, maple syrup season! Yum!
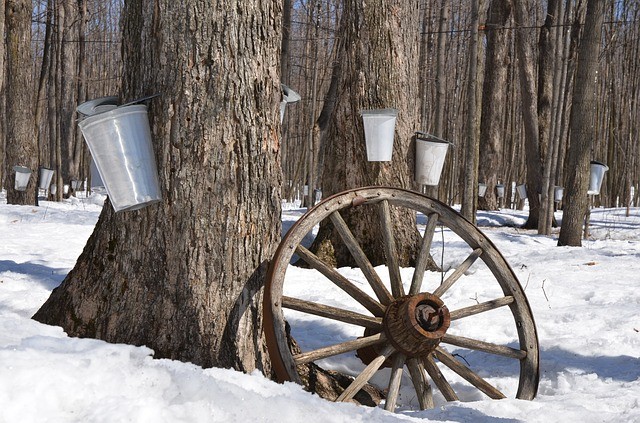
Image by: diapicard from Pixabay